
How It Works
Install once, adjust forever. Here's your step-by-step guide to a gallery-perfect display.
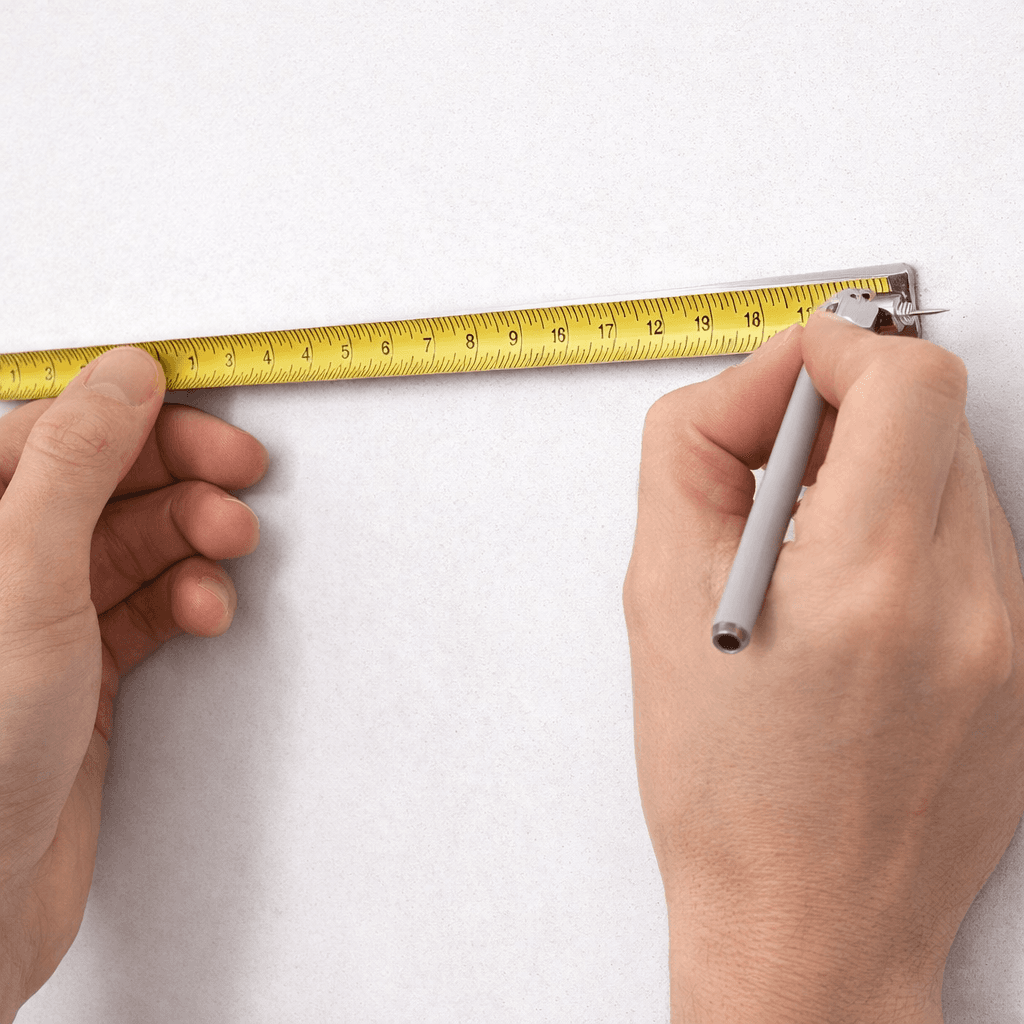
Step 01
Measure & Plan
Decide where you want the rail — along the top of a wall, ceiling, or picture rail height. Measure the length needed. Our rails can be cut to custom sizes.
- ✓Works on drywall, plaster, concrete, and wood with suitable fixings
- ✓Priced per running foot for the length you need
- ✓Runs can be joined for longer walls
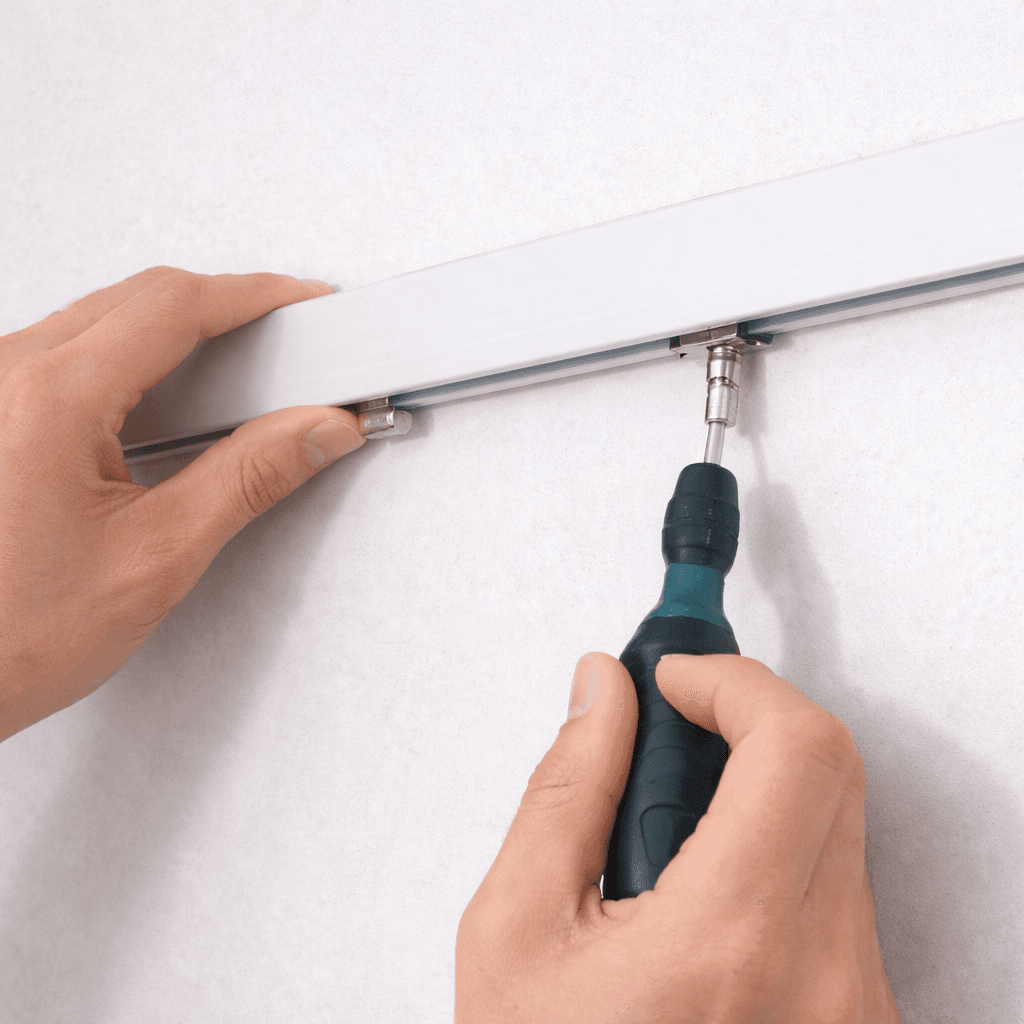
Step 02
Install the Rail
Drill pilot holes every 30–40 cm and secure the rail with the provided screws. Use a spirit level for perfect alignment. This is the only drilling you ever need to do.
- ✓Included: screws, wall plugs, and end caps
- ✓Basic DIY tools required: drill, level, pencil
- ✓Average installation time: 20–30 minutes
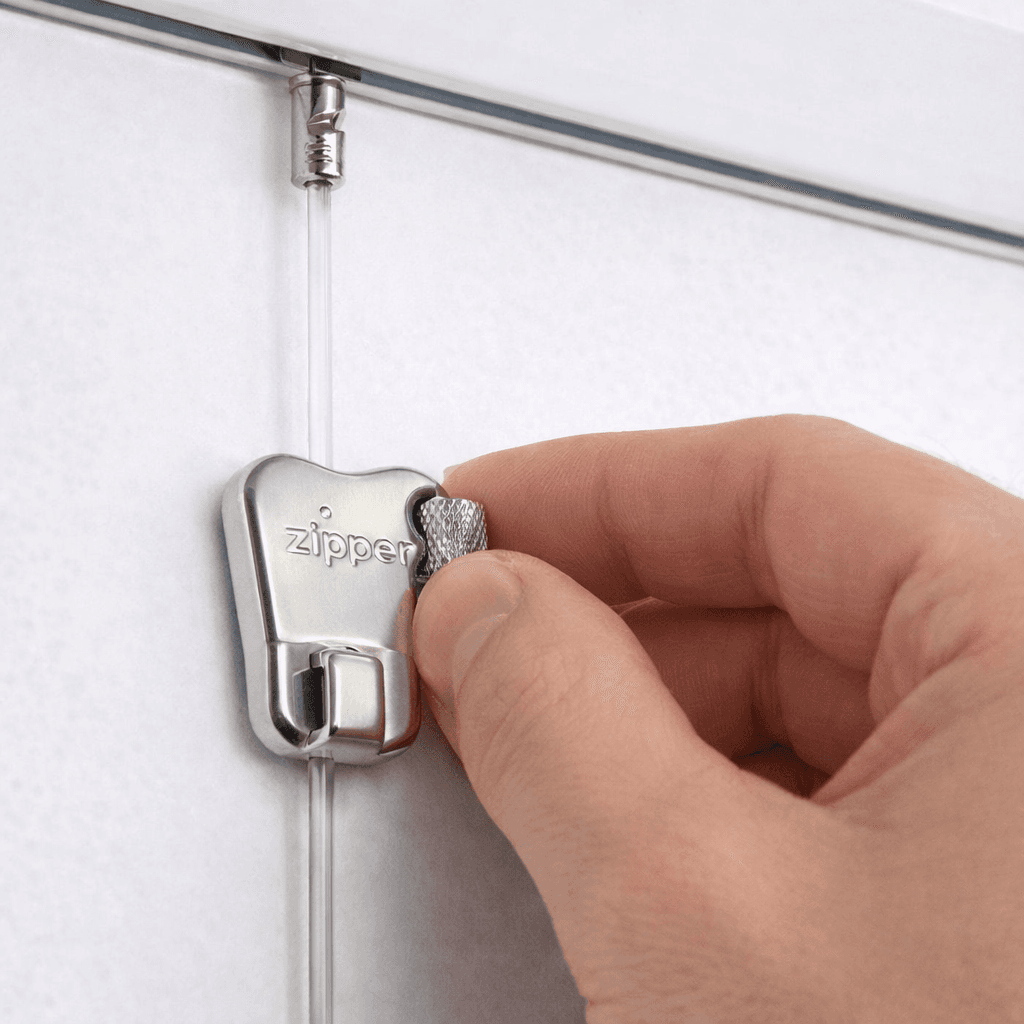
Step 03
Attach Cords & Hooks
Click a Perlon cord with Cobra into the rail channel. Slide on an adjustable hook and set the hanging height. Cords and hooks are sold separately from the rail.
- ✓Choose 150cm, 250cm, or 300cm Perlon cords
- ✓Choose the 4kg Hook or 15kg Zipper Hook
- ✓No tools needed for this step
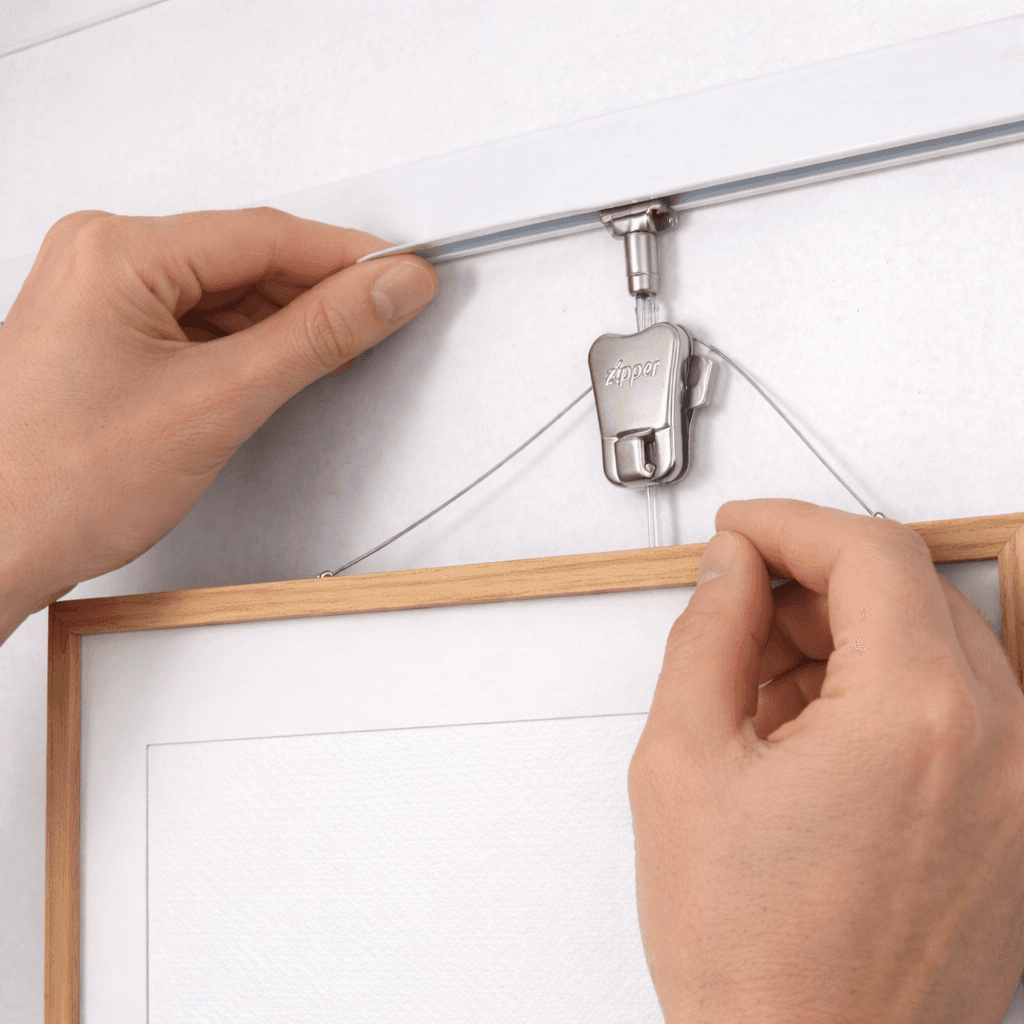
Step 04
Hang & Adjust
Hang your artwork on the hook. Adjust height by sliding the hook along the cord. Slide the cord left or right along the rail to position the piece.
- ✓Change artwork in seconds
- ✓Rearrange without new holes after the rail is mounted
- ✓Add or remove cords anytime