
How to hang pictures at the right height
Most walls look wrong for one of two reasons: the pictures are hung too high, or the gaps between them are uneven. Both are easy to fix. Here are the height rule galleries use, spacing for groups, the common layouts, and how to hang a wall from a picture rail so you can adjust it without new holes.
By Window Techs India Pvt Ltd · Updated
How high to hang pictures
Hang the centre of the artwork at about 145 to 152 cm (57 to 60 in) from the floor. This is a widely used gallery convention, based on the eye level of a standing adult. Because it is measured to the centre, a small print and a large canvas sit on the same line.
The common mistake in Indian homes is hanging pictures level with the top of the door frame or close to a 10 ft ceiling, well above anyone's view. Bring them down to eye level.
- Over a sofa, bed or console: leave roughly 15 to 25 cm (6 to 10 in) between the furniture and the bottom of the frame, so they read as one group. Here the furniture sets the height.
- In a dining room: people look at the wall while seated, so hang a little lower.
- In a stairwell: keep the centre at about eye level above each step, so the pictures rise with the stairs.
Enter the rail height, the artwork's height and the centre height you want. The tool shows how far below the rail the hook sits and the shortest cord that reaches it.
Hanging height and cord length
Set where the rail is and how big the artwork is. We work out where the hook sits and the shortest cord that reaches it.
145–152 cm is the usual eye-level centre for galleries and homes.
Top of the frame
180 cm
Hook sits below the rail
125 cm
Cord to order
150 cm
How far apart to hang pictures
In a group, leave about 5 to 8 cm (2 to 3 in) between frames. Closer and the frames crowd each other; much wider and they stop reading as one group.
Consistency matters more than the exact number: keep one gap on every side of every frame. A piece of card cut to the gap makes a quick spacer.
| Situation | Guide measurement |
|---|---|
| Centre of a single piece | 145–152 cm (57–60 in) from the floor |
| Centre of a group | Treat the whole group as one piece: its centre at 145–152 cm |
| Above a sofa, bed or console | 15–25 cm (6–10 in) above the furniture |
| Gap between frames in a group | 5–8 cm (2–3 in), the same on every side |
| Width of art over furniture | Roughly two thirds of the furniture's width looks balanced |
Gallery wall layouts that work
Choose the layout before you buy or frame anything, because it decides how many pieces you need.
- Single statement piece. One large canvas or print, centred on the wall or the furniture. Often the strongest choice in a small room.
- Grid. Identical frames in rows and columns with equal gaps. Calm and formal, and it shows every error, so measure carefully.
- Salon style. Frames of different sizes packed together, sometimes floor to ceiling. Start with the largest piece slightly off centre and build outwards with even gaps.
- Row on a shared centre line. Frames of different heights in one row, all centres on the same eye-level line. Good for a corridor or reception wall.
- Rotating display. A rail with spare cords, so prints or children's artwork can change every few weeks.
A mirror, a small textile or a woven piece mixed into a gallery wall breaks up the rectangles. A mirror is often much heavier than a print of the same size and may need Zipper hooks rated 15 kg.
Plan the layout on the floor first
Lay every piece on the floor in front of the wall, with the gaps you plan to use. Move things until the balance looks right: larger or darker pieces nearer the centre, lighter ones towards the edges. Keep paper prints off exterior walls that show damp in the monsoon months.
Then photograph the layout from above. The photo is your hanging plan. Measure the group's total width and height and mark its centre, so you know where that centre sits on the wall. With nails you would also need paper templates; with a rail, a frame a few centimetres out can simply be slid or raised.
How to hang pictures from a picture rail
You drill once, to fix the rail along the top of the wall or to the ceiling. Every adjustment after that is done by hand.
- Fix the rail once. Mark a level line, then drill and fix the aluminium rail with fixings that suit the wall. See fixing to different wall types.
- Clip in the cords. Push the Cobra end of each Perlon cord into the rail channel. Use two cords per artwork, spaced to its width.
- Start with the largest or central piece. Set its centre at eye level, or at the right gap above the furniture, and place everything else relative to it.
- Set heights with the hooks. Slide each hook along its cord to the height you need, then rest the frame's wire or D-rings on the hooks.
- Step back and adjust. Look from the doorway. Slide cords sideways to even the gaps and nudge hooks until the lines are right.
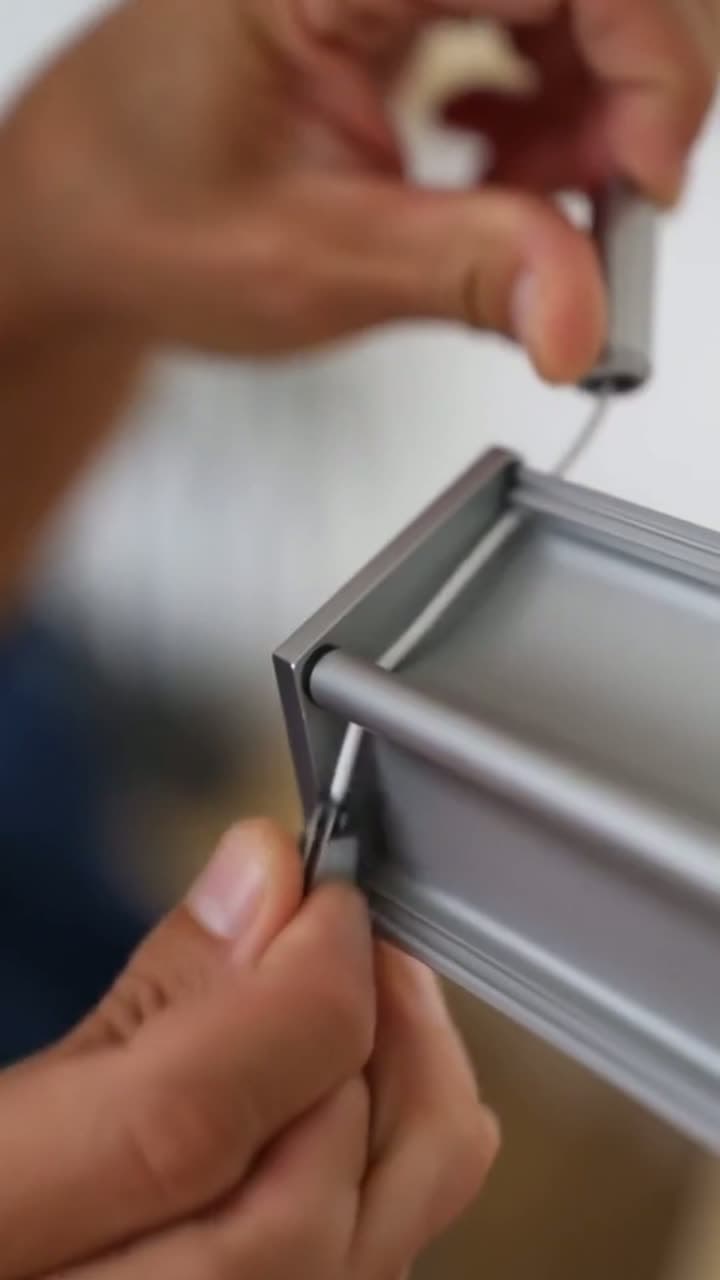
Each Perlon cord is rated 20 kg, the standard hook 4 kg and the Zipper hook 15 kg; the rail carries 25 kg per metre spread along it. The lowest rating in the chain is the limit, so weigh heavy pieces first. See what 25 kg per metre means.
What you need for one wall
You need rail for the length of the wall and, for each artwork, usually two cords and two hooks.
| Part | How many | Price |
|---|---|---|
| Aluminium picture rail | The length of the wall | ₹250 per running foot |
| Perlon cord, 150 cm, for ceilings up to 9 ft | Two per artwork | ₹850 each |
| Perlon cord, 250 cm, for ceilings of 9 to 12 ft | Two per artwork | ₹1,250 each |
| Standard hook, 4 kg | Two per framed print or photograph | ₹220 each |
| Zipper hook, 15 kg | Two per canvas or mirror | ₹450 each |
Add spare cords and hooks if you plan to add pieces later. Build your system puts the parts for your wall in one basket.
Questions
How high should you hang pictures?
Hang the centre of the artwork at about 145 to 152 cm (57 to 60 in) from the floor, a widely used gallery convention. Above furniture, leave roughly 15 to 25 cm between the furniture and the bottom of the frame instead.
How far apart should pictures be in a gallery wall?
About 5 to 8 cm (2 to 3 in) between frames, kept the same on every side. Even gaps matter more than the exact figure.
How high should a picture be above a sofa?
Leave roughly 15 to 25 cm (6 to 10 in) between the top of the sofa back and the bottom of the frame, so the sofa and the art read as one group.
How many cords and hooks does one picture need?
Usually two cords and two hooks, which keeps the frame level and shares the load. A small, light frame can hang on one.
Which hook should I use for a heavy mirror?
The Zipper hook, rated 15 kg, on two cords. Each cord is rated 20 kg and the rail 25 kg per metre, and the lowest rating in the chain is the limit.
Can I change the layout later without drilling?
Yes. Once the rail is fixed, you slide cords along the rail to move pieces and slide hooks along the cords to change heights, all by hand.
Ready to hang it?
One wall: build the system in three steps. Several walls or sites: estimate the project and get a GST quote.